
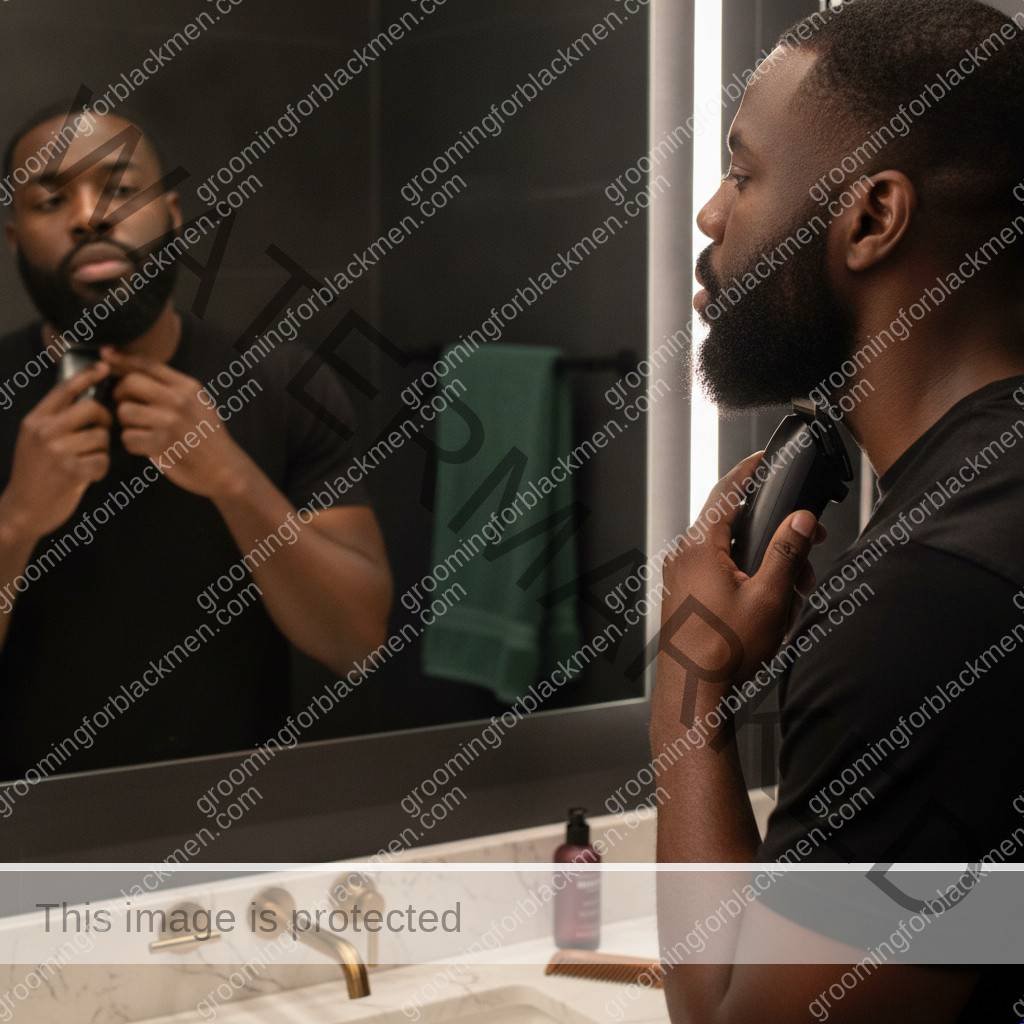
Grooming for Black men is more than a matter of style—it’s a matter of skin health, confidence, and discipline. If you’re reading this, you already know that the standard advice about shaving doesn’t always fit. You’ve likely dealt with razor bumps, ingrown hairs, or irritation after trying to keep your beard sharp. You may have tried every new razor or product, only to end up frustrated. The truth is, Black men’s facial hair and skin need a guarded, intentional approach—especially when it comes to trimmer routines.
This guide is for Black men who want a practical, bump-minimizing way to keep their beard or goatee neat, without chasing that skin-level closeness that often leads to trouble. We’ll break down exactly why these issues happen, what makes them worse, and how to build a trimmer routine that respects your skin and your time. You’ll get a decision framework, tool examples, and troubleshooting tips—without shame or empty promises.
Whether you’re managing a full beard, a sharp lineup, or a close stubble, this is your disciplined, premium guide to a trimmer routine for Black men. Let’s get into it.
Field-Test This Routine Before You Judge It
Every Black man’s beard is different, but the daily and weekly grind is universal: you want a sharp, healthy look without the fallout—bumps, irritation, or dark marks that can linger for weeks. Our guarded trimmer routine isn’t just theory; it’s built for the realities of our hair texture, skin needs, and the way life actually happens. Before you tweak or dismiss it, give it a real shot—especially if you’ve struggled with irritation, patchiness, or razor bumps in the past.
Why Guarded Trimming? The Real-World Advantage
Let’s get straight to it: Black men are more likely to develop pseudofolliculitis barbae (razor bumps) and post-inflammatory hyperpigmentation (dark marks) when shaving too close. That’s because our beard hairs are often coarse, curly, and prone to growing back into the skin. Guarded trimming—using a trimmer with a fixed-length guard—keeps hair slightly above skin level, sharply reducing the risk of ingrown hairs and irritation. It’s not about chasing a baby-smooth look; it’s about grooming smarter, not harder.
Scenario 1: Rushed Mornings—How to Get It Done Without Sacrificing Your Skin
Life doesn’t always give you 30 minutes for a perfect routine. Maybe you’re running late for work, or you’ve got a last-minute video call. Here’s how to keep your beard neat and your skin safe, even when the clock is ticking:
- Stick to Your Guard: Even in a hurry, never ditch the guard for a closer trim. The #1.5 or #2 guard is your default—don’t risk bumps for a slightly tighter look.
- Quick Clean: Splash your face with warm water or use a damp cloth to soften beard hairs. It’s not as thorough as a full wash, but it reduces tugging.
- Light Pressure: Glide the trimmer over your beard and neck. Don’t press down—let the guard do the work. If you miss a spot, leave it for next time rather than overworking the area.
- Skip the Line-Up (If Needed): If time is tight, avoid a rushed line-up. A crooked or irritated line is worse than a slightly fuzzy edge. Save the detail work for when you can focus.
- Moisturize and Go: Apply a light, non-comedogenic moisturizer or beard oil to soothe the skin and keep it hydrated, even if you’re out the door in 60 seconds.
Scenario 2: Barber Visits—How to Communicate and Maintain Between Appointments
Even if you see your barber regularly, your beard needs maintenance between visits. Here’s how to keep your look sharp and your skin healthy, while making sure your barber respects your skin’s needs:
- Be Clear About Guard Length: Tell your barber exactly what guard you use at home and ask them to use the same or slightly longer guard on your beard and especially your neck.
- Request No Skin-Level Shaves: Politely but firmly ask your barber not to use a razor or zero-gap trimmer on your neck or face if you’re bump-prone. Explain that you’re maintaining a guarded routine for your skin health.
- Ask About Tool Sanitation: Don’t be shy—ask your barber how they clean their tools. Clippers and guards should be disinfected between clients to avoid breakouts or infections.
- Maintain at Home: In between visits, use your trimmer’s guard to keep your beard at a consistent length. Don’t try to “fix” a barber’s work by going closer than you’re comfortable with.
Scenario 3: Coarse & Curly Beard Growth—Adapting the Routine
If your beard is tightly coiled, wiry, or grows in multiple directions, you’ll need to pay extra attention to technique and maintenance:
- Comb Before Trimming: Use a wide-tooth comb or a beard pick to detangle and lift hairs away from the skin. This helps the trimmer cut evenly and reduces snagging.
- Trim With the Grain: Always trim in the direction your hair grows, not against it. This minimizes irritation and the chance of hairs curling back into the skin.
- Check for Missed Spots: After trimming, run your hand over your beard and neck to feel for uneven patches. If needed, do a gentle second pass—still with the guard on.
- Moisturize Daily: Coarse hair can be dry and brittle, so use a beard conditioner or oil to keep it soft and manageable. This also helps prevent breakage and ingrown hairs.
Scenario 4: Neck Sensitivity—Protecting the Most Bump-Prone Zone
For many Black men, the neck is ground zero for irritation and bumps. Here’s how to adjust your trimmer routine for this sensitive area:
- Use a Longer Guard: If you’re still getting bumps on your neck, try a #2 or #3 guard instead of a #1.5. Leaving hair slightly longer gives curls more room to grow out instead of back in.
- Less Pressure, Fewer Passes: The neck skin is delicate. Glide the trimmer gently and avoid going over the same spot repeatedly.
- Skip the Razor: Avoid using a razor or foil shaver on your neck, even for line-ups. Stick with guarded trimming only.
- Apply a Cool Compress: After trimming, use a cool, damp cloth on your neck to calm the skin and reduce redness.
Scenario 5: Managing Dark Marks Without Overreacting
Dark marks (hyperpigmentation) can stick around long after a bump or nick. While you can’t erase them overnight, you can prevent new ones and support your skin’s natural healing:
- Don’t Chase Perfection: Don’t keep trimming closer hoping to “even out” dark patches. This usually makes things worse.
- Gentle Exfoliation: Once or twice a week, use a mild exfoliant (not a harsh scrub) to help fade marks and clear dead skin. Don’t exfoliate right after trimming.
- Hydrate and Protect: Keep skin moisturized and use sunscreen if you’ll be outside—UV exposure can darken marks further.
- See a Professional If Needed: If marks are worsening, spreading, or not improving, consult a dermatologist for targeted treatments. Don’t try harsh DIY remedies or over-the-counter bleaching creams without guidance.
Scenario 6: Tool Hygiene—Sanitation Is Non-Negotiable
Dirty trimmers and guards can spread bacteria, leading to breakouts, bumps, or even infections. Here’s how to keep your tools clean and safe:
- Clean After Every Use: Brush off hair clippings, then wash guards and detachable blades with warm soapy water. Dry thoroughly before reattaching.
- Disinfect Weekly: Use a barber-grade spray disinfectant or rubbing alcohol on all non-electric parts. Let them air dry fully.
- Oil Your Blades: Apply a drop of clipper oil to blades after cleaning to keep them sharp and reduce friction. This also prevents rust.
- Replace Guards and Blades: If your guards are cracked or your blades are dull, replace them. Dull blades tug at hair and increase irritation.
Routine Adjustments: When and How to Tweak Without Overreacting
It’s tempting to overhaul your routine at the first sign of a bump or patch, but patience is key. Here’s how to make smart, measured adjustments:
- Wait and Observe: If you notice irritation, don’t immediately switch products or guards. Give your skin a few days to recover before making changes.
- Change One Variable at a Time: If you do adjust your routine (guard length, products, frequency), change only one thing and track the results. This helps you pinpoint what works.
- Don’t Over-Trim: Resist the urge to trim daily if you’re bump-prone. Most men do best with trimming every 2-4 days, depending on growth rate and skin response.
- Consult a Pro for Persistent Issues: If you’re seeing persistent, painful, or worsening symptoms—such as infected bumps, spreading dark marks, or scarring—see a dermatologist or clinician. Don’t try to “tough it out.”
Practical Guard Length Guide for Black Men
| Guard Size | Approx. Length (mm) | Best For | Notes |
|---|---|---|---|
| #1 | 3 mm | Very short, crisp look | Can be too close for bump-prone necks |
| #1.5 | 4.5 mm | Defined, neat beard | Most common starting point; safe for most |
| #2 | 6 mm | Fuller, softer outline | Ideal for sensitive skin and necks |
| #3 | 10 mm | Thick, natural beard | Best for minimizing irritation and bumps |
Start with a longer guard if you’re new to this routine or have a history of irritation. You can always go shorter later, but you can’t undo a too-close trim.
Pressure and Technique: The Difference Maker
It’s not just about the guard—it’s how you use it. Heavy-handed trimming presses hair closer to the skin, defeating the purpose of a guard. Here’s the GFBM way:
- Hold the Trimmer Lightly: Use your fingertips, not your whole hand, to guide the trimmer.
- Let the Guard Glide: Move the trimmer slowly and evenly. Don’t dig in or tilt the guard at an angle.
- Work in Sections: Tackle one area at a time—cheeks, chin, neck—so you don’t miss spots or overwork sensitive areas.
- Check Your Work: Use a handheld mirror or your phone camera to check the back and sides. Don’t chase perfection; aim for “clean and even.”
Maintenance: Keeping the Routine Sustainable
Consistency is the foundation of healthy grooming. Here’s how to make this routine work for you long-term:
- Set a Schedule: Pick specific days for trimming—like Sunday and Thursday—so you don’t overdo it.
- Prep and Recover: Always prep your skin with warm water or a gentle cleanser, and follow up with moisturizer or beard oil.
- Track Your Progress: Take monthly photos to see how your skin and beard respond. Adjust only if you see clear patterns.
- Stay Educated: Check out more beard care tips and routines at GroomingForBlackMen.com to keep your game sharp.
Final Word: Respect Your Skin, Respect Your Process
There’s no one-size-fits-all answer, but a guarded trimmer routine is the safest, most effective foundation for Black men who want to look sharp without sacrificing their skin. Be patient, be consistent, and don’t be afraid to ask for professional help if things aren’t improving. Your beard is yours—treat it and your skin with the respect they deserve.
Why Trimming and Shaving Are Different for Black Men
Razor bumps (pseudofolliculitis barbae) and ingrown hairs are not just minor annoyances—they’re rooted in the biology of Black men’s hair and skin. Most Black men have coarse, curly facial hair. When shaved too close, these hairs can curve back into the skin, especially at the neck and jawline. This can trigger inflammation, bumps, and sometimes dark marks. If you want a deep dive on the science, check out our razor bump guide for Black men.
Unlike straight hair, curly facial hair is more likely to re-enter the skin after being cut, especially if it’s cut below the surface. The skin itself may also be more sensitive, making it more reactive to friction, pressure, and harsh products. This is why the “baby-smooth” look—often pushed by mainstream grooming—can backfire, causing weeks of bumps and irritation.
Trimming with a guard is different. By leaving a bit of length, you reduce the risk of hair curling back into the skin. This makes a guarded trimmer routine a practical, sustainable option for Black men who want neatness without the fallout.
What Makes Bumps, Ingrowns, and Irritation Worse?

Understanding what worsens these issues is key to prevention. Here are the main culprits:
- Shaving too close: Blades that cut at or below skin level increase the risk of hair re-entering the skin.
- Stretching the skin: Pulling skin tight while shaving makes hair retract below the surface, priming bumps.
- Multiple passes: Repeatedly going over the same spot increases irritation and the chance of ingrowns.
- Dull or dirty tools: Old blades and unsanitized trimmers can introduce bacteria and cause microtears.
- Improper guard use: Using no guard or a guard that’s too short defeats the purpose of trimming for protection.
- Neglecting the grain: Going against the direction your hair grows (the “grain”) increases trauma to follicles.
- Skipping pre- and post-care: Not softening hair before trimming or skipping aftercare can leave skin vulnerable.
For a full breakdown of what not to do, see our ingrown hair guide for Black men and sensitive skin shaving tips.
Building a Practical Trimmer Routine for Black Men
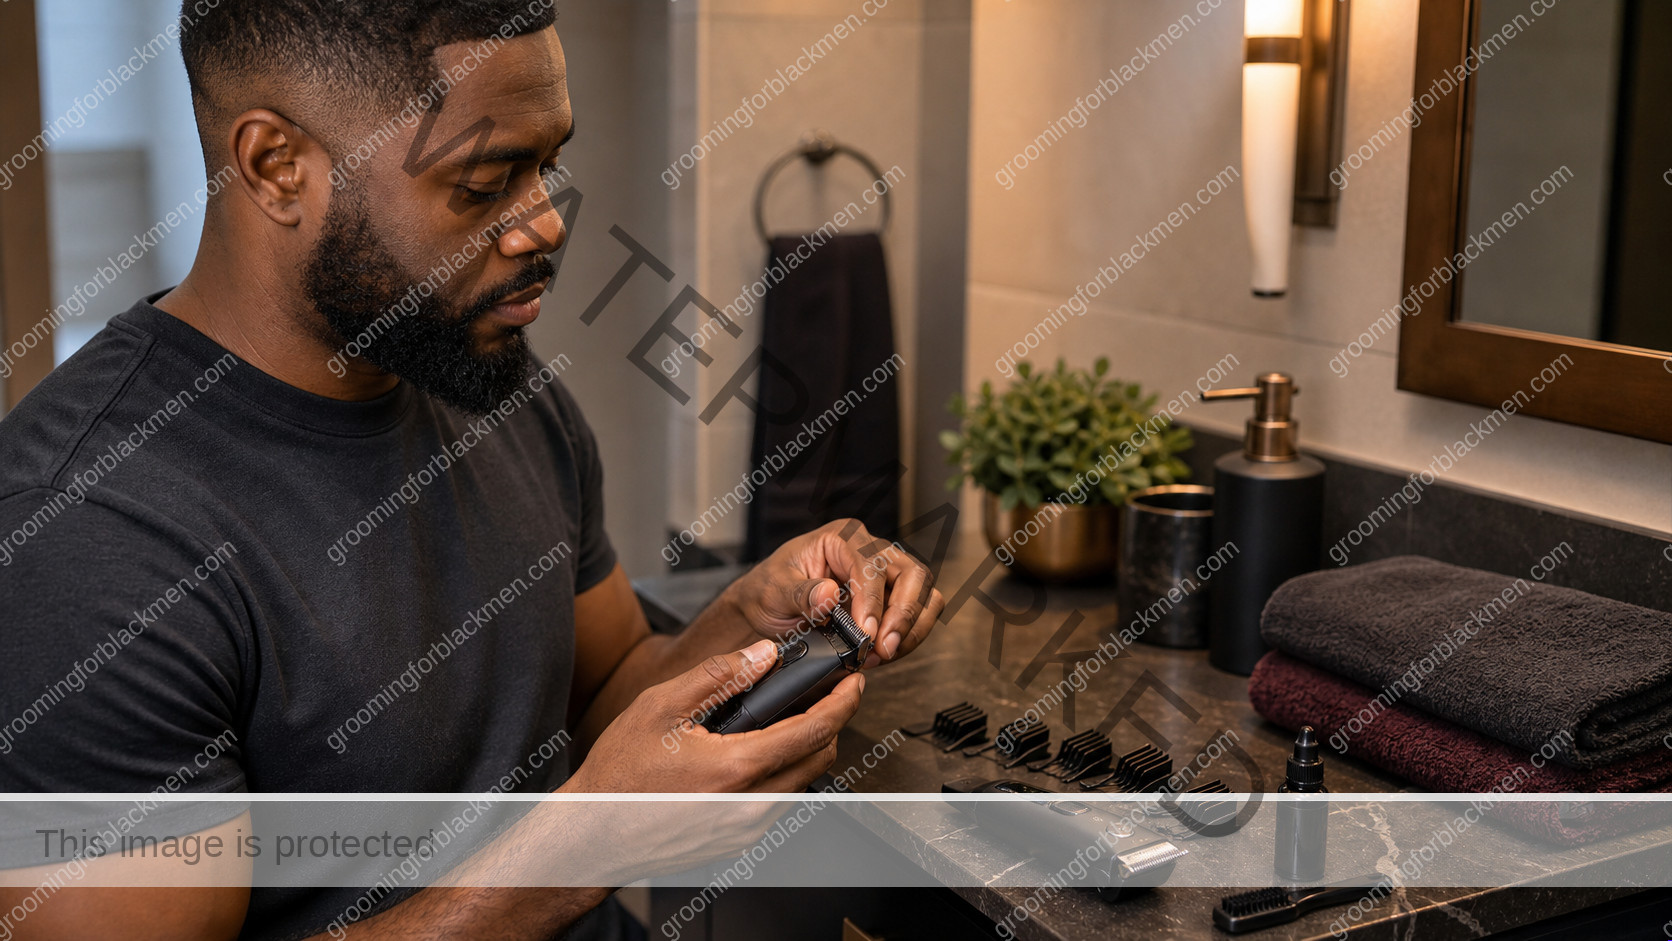
A guarded trimmer routine is about discipline, not shortcuts. The goal: keep your beard, goatee, or stubble neat and lined up, while minimizing the risk of bumps and irritation. Here’s a step-by-step decision framework tailored for Black men’s skin and hair.
Step 1: Map Your Grain
Before you touch a trimmer, know which way your facial hair grows. This is your “grain.” Mapping your grain helps you trim with the direction of growth, reducing tugging and trauma. Use your fingers or a credit card to feel the direction on your cheeks, chin, jaw, and neck. For a full process, see our neck grain mapping guide or our Map Your Grain for Black Men tutorial.
Step 2: Choose the Right Guard Length
The guard is your main defense against bumps. Start with a longer guard than you think you need—usually 2mm or higher. You can always go shorter, but you can’t put hair back. If you’re bump-prone, err on the side of caution, especially on the neck and jawline. Some men use a shorter guard on the cheeks and a longer one on the neck for extra protection.
Step 3: Prepare Your Skin and Hair
- Wash your face and beard with a gentle, non-drying cleanser. This removes oil, dirt, and product buildup.
- Soften your hair with warm water or a damp towel for a few minutes. This makes trimming smoother and reduces tugging.
- Comb or brush your beard in the direction of growth to detangle and lift hairs.
For more on pre-trim prep, see our pre-shave routine guide.
Step 4: Trim with Guarded, Gentle Passes
- Use light, even pressure. Let the trimmer do the work—don’t press down or dig into the skin.
- Trim with the grain. Move the trimmer in the direction your hair grows, especially on the neck and jawline.
- Don’t chase perfection. Avoid going over the same spot multiple times. If you miss a hair, let it go until next time.
- Keep the guard flat. Maintain full contact between the guard and your skin for an even cut.
- Work in sections. Start with the cheeks, then jaw, chin, and finally the neck. Save the bump-prone neck for last.
Step 5: Line Up with Caution
If you line up your beard or mustache, use a trimmer with a guard or an edge tool. Avoid bare blades on sensitive areas. If you must use a detail trimmer, use the lightest touch and avoid repeated passes. For line-up irritation solutions, see our lineup irritation guide.
Step 6: Clean and Moisturize After Trimming
- Rinse your face with cool water to remove loose hairs and calm the skin.
- Apply a gentle, fragrance-free moisturizer or a post-shave balm designed for sensitive skin. Avoid products with alcohol or heavy fragrance.
- Disinfect your trimmer and guards after every use. This prevents bacteria buildup and keeps your tools sharp. See our tool maintenance section below.
For more on aftercare, see our post-shave care guide.
Step 7: Set a Consistent Routine
Trimming every 3–7 days works for most men, but adjust based on your beard growth and skin’s reaction. Consistency helps your skin adapt and reduces the chance of irritation from long, curly hairs getting trapped.
Product and Tool Examples for a Guarded Trimmer Routine


Disclosure: The following product links are examples only. We do not guarantee results, and these are not medical recommendations. As an Amazon Associate, we may earn from qualifying purchases.
What to Look for in a Beard Trimmer
- Adjustable guard system: Multiple guard lengths (at least 1.5mm to 6mm) for different areas of your face.
- Cordless, waterproof models: Easier to use in the bathroom and simpler to clean.
- Sharp, stainless steel blades: Reduce pulling and irritation.
- Easy to clean: Removable heads and guards that can be rinsed or brushed out.
- Low vibration: Less friction and less chance of skin irritation.
Example: cordless beard trimmer (see category for options).
Clipper Guards: Your #1 Defense
- Invest in a set of quality guards that fit your trimmer. Replace worn or cracked guards regularly.
- Keep a dedicated longer guard (e.g., 3mm or 4mm) for the neck area if that’s your bump-prone zone.
Example: clipper guards (see category for options).
Cleaning and Maintenance Tools
- Use a brush to remove hair from blades and guards after every use.
- Disinfect with a spray or wipe designed for grooming tools.
- Oil blades as recommended by the manufacturer to keep them sharp and reduce friction.
Example: clipper cleaning brush (see category for options).
Comparison Table: Trimming vs. Shaving Systems for Black Men
| Feature | Guarded Trimmer Routine | Traditional Razor Shaving |
|---|---|---|
| Closeness | Leaves short stubble, not skin-level | Removes hair at or below skin level |
| Risk of Bumps/Ingrowns | Low (with proper guard use) | High (especially for coarse, curly hair) |
| Time Required | Fast (5–10 minutes) | Longer (10–20 minutes with prep/care) |
| Tool Maintenance | Regular cleaning, guard changes | Frequent blade changes, cleaning |
| Skin Irritation | Minimal (with gentle technique) | Common (especially on neck/jawline) |
| Best For | Bump-prone, sensitive skin, everyday neatness | Those seeking ultra-close shave, less bump-prone |
For more on choosing between razors and trimmers, see our trimmer and razor comparison and safety razor vs cartridge guide.
Troubleshooting: When to Adjust or Seek Professional Help

Even with a disciplined trimmer routine, bumps or irritation can still happen—especially when you’re starting out or changing products. Here’s how to troubleshoot:
- Still getting bumps? Try a longer guard, reduce pressure, and make sure you’re trimming with the grain. Consider trimming less often to let skin settle.
- Persistent redness or irritation? Check your aftercare products for alcohol or fragrance. Switch to a gentle, fragrance-free moisturizer. Clean your trimmer and guards thoroughly.
- Blades pulling or snagging? Clean and oil your blades, or replace them if they’re dull. Make sure guards fit tightly and are
n’t cracked.
- Dark marks or scarring? Avoid picking or digging at bumps. Use sunscreen daily to prevent dark marks from getting worse. For more, see our dark marks and razor bumps guide.
If you notice painful, spreading, or infected bumps that don’t improve with a guarded trimmer routine, it’s time to see a dermatologist. Some cases of pseudofolliculitis barbae or folliculitis need medical-level care. For a full troubleshooting checklist, see our neck bumps guide and razor bump prevention guide.
Frequently Asked Questions
How do I know which guard length is best for my beard and neck?
Start with a longer guard, such as 3mm or 4mm, especially on bump-prone areas like the neck and jawline. The right guard length depends on your hair texture, growth pattern, and how close you want your trim. Always test a longer guard first—you can go shorter if needed, but you can’t reverse a cut that’s too close. Many Black men use a shorter guard (1.5mm–2mm) on the cheeks for a sharp look, and a longer one on the neck for protection. Adjust over a few sessions to find what keeps your skin calm and your beard looking neat. For more, see our trimmer routine guide.
Should I trim before or after showering?
Trimming after a shower is often best. Warm water softens coarse facial hair, making it easier for the trimmer to cut cleanly and reducing tugging or irritation. If you can’t shower, use a warm, damp towel on your face and beard for a few minutes before trimming. Always make sure your beard is detangled and dry (not soaking wet) before you start, as wet hair can clog trimmers and lead to uneven results. For a full pre-trim prep, see our pre-shave routine for Black men.
How often should I clean and disinfect my trimmer?
Clean your trimmer and guards after every use. Remove all hair with a brush, rinse removable parts if the trimmer is waterproof, and disinfect with a spray or wipe designed for grooming tools. Oil the blades as recommended by the manufacturer. Regular cleaning prevents bacteria buildup, which can cause breakouts and irritation, and keeps your trimmer performing at its best. Replace guards if they crack or become loose. For more maintenance tips, check our razor and trimmer tool guide.
Can I use a trimmer to line up my beard or mustache?
Yes, but use caution. For a lineup, use a trimmer with a guard or a dedicated edge tool. Avoid going over the same spot repeatedly, and never dig into the skin. If you’re prone to irritation, keep lineups less frequent or stick to guarded trims. For sharper lines, some men visit a barber for the initial shape and maintain it at home with a guarded trimmer. If you experience redness or bumps after lineups, see our lineup irritation guide for solutions.
What should I do if I still get ingrown hairs with a trimmer?
If you’re still getting ingrowns, try using a longer guard, trimming less often, and making sure you’re trimming with the grain. Don’t pick or dig at ingrown hairs—this can cause infection or dark marks. Use a gentle exfoliant (no harsh scrubs) once or twice a week to help prevent hairs from getting trapped. If ingrowns persist or become painful, see a dermatologist for professional advice. For more, read our ingrown hair treatment guide for Black men.
Do I need special aftercare after trimming?
Yes, aftercare matters even with trimmers. Rinse your face with cool water to remove loose hairs and calm the skin. Apply a gentle, fragrance-free moisturizer or a post-shave balm suitable for sensitive skin. Avoid products with alcohol, menthol, or strong fragrance, as these can irritate. Consistent aftercare helps prevent dryness, irritation, and dark marks. For a detailed aftercare routine, see our post-shave care guide.
When should I see a professional for my beard or skin issues?
If you have painful, spreading, or infected bumps, scarring, or persistent dark marks that don’t improve with a guarded trimmer routine, it’s time to see a dermatologist or a barber experienced with Black men’s hair. Professional help may be needed if you notice pus, swelling, or bumps that don’t heal. Don’t wait for things to get worse—early intervention can prevent long-term skin changes. For more on when to seek help, see our neck bumps guide and razor bumps and dark marks guide.
What to Do Next: Take Control of Your Grooming Routine
A guarded trimmer routine for Black men isn’t about settling—it’s about taking control of your skin health, your look, and your confidence. Start by mapping your grain, choosing the right guard, and committing to gentle, consistent care. Invest in quality tools and keep them clean. Don’t chase perfection or punish yourself for bumps or dark marks—they’re common, and you’re not alone.
For a complete system, explore our full Razor Bumps, Ingrown Hairs & Shaving Systems pillar, including:
- Razor Bump Prevention for Black Men
- Ingrown Hair Treatment for Black Men
- Sensitive Skin Shaving for Black Men
- Razor Bumps and Dark Marks for Black Men
- Map Your Grain for Black Men
- Best Razors & Trimmers for Black Men
Remember: disciplined, practical routines—not quick fixes—deliver results. Respect your skin, use the right tools, and don’t hesitate to get professional help when needed. Your grooming is yours to own.